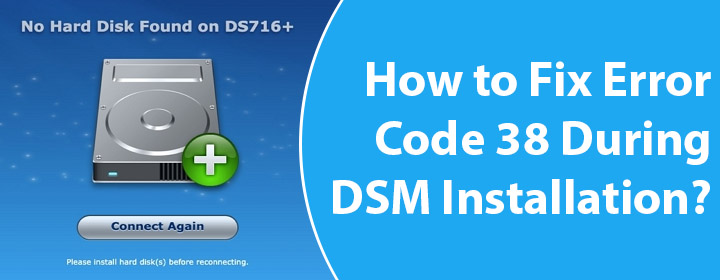
How to Fix Error Code 38 During DSM Installation?
Installing Synology DiskStation Manager (DSM) is not a complicated process. However, encountering error code 38 can halt the installation. Walking through this post will help you learn troubleshooting techniques to resolve this issue efficiently no matter whether you are performing Synology DS923+ installation or DSM220+ setup. Continue reading.
What is Synology Error Code 38?
Error code 38 typically indicates a problem with the DSM installation process, often related to issues with network configuration, disk initialization, or corrupted installation files. Given below are the common symptoms of this error code:
- The installation process stops unexpectedly.
- DSM cannot connect to the Synology server.
- Error messages prompt on the DSM setup wizard.
Troubleshooting: Error Code 38 During DSM Installation
1. Verify Network Connectivity
Ensure that your Synology NAS is properly connected to your network. Check the Ethernet cable for any damages and make sure it is securely plugged into both the NAS and the router or switch.
2. Restart the Entire Network
Power off your Synology NAS, wait for a few minutes, and then power it back on. This can resolve temporary glitches. Also, restart your router and any switches or hubs in your network to refresh the network connection.
3. Check the Disk Health and Reinitialize Them
Faulty or improperly connected disks can cause installation errors. Access the NAS’s BIOS or initial boot menu to check if all installed disks are recognized. If the disks are not recognized or show errors, reinitialize them. This can be done by accessing the NAS’s recovery or setup mode:
- Power off the NAS and remove all disks.
- Power on the NAS without any disks to enter the recovery mode.
- Power off again, insert the disks back, and restart to attempt the DSM installation again
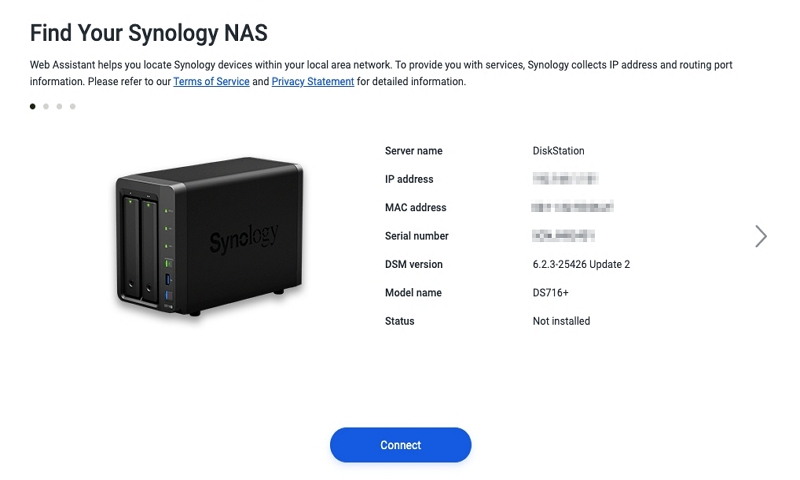
4. Install DSM Using Synology Assistant
Download Synology Assistant on your computer and launch it. It will search for Synology devices on the same network. Follow the on-screen instructions to install DSM through Synology Assistant, which might bypass some issues encountered during a direct installation.
5. Download the Latest DSM Version
Go to the official Synology download center and download the latest DSM version compatible with your NAS model. Ensure that the DSM installation file is not corrupted. Check the file’s MD5 checksum against the one provided on the Synology download page.
6. Prepare the Installation Media Properly
If you are using a USB drive for installation, ensure it is formatted correctly (usually FAT32) and that the DSM installation file is properly copied onto it. However, for network installation, make sure the computer used to initiate the installation is on the same subnet as the NAS.
7. Disable Unnecessary Software
Temporarily disable any antivirus or firewall software on your computer that might interfere with the DSM installation process. Besides, ensure no other network services or heavy network traffic could be disrupting the installation process.
8. Reset Synology NAS
| Soft Reset | Hard Reset |
|---|---|
| Find the reset button on your Synology NAS. | Ensure all important data is backed up. |
| Press and hold the reset button for about 4 seconds until you hear a beep. | Press and hold the reset button for about 10 seconds until you hear a second beep. |
| This resets the network settings and admin account without affecting data on the disks. | This will reset all settings or your Synology NAS to factory defaults. |
Conclusion
Getting the error code 38 during the DSM installation can be disruptive. However, with systematic troubleshooting, it can be resolved. Start by ensuring proper network configuration and connectivity, verify disk health and initialization, and use tools like Synology Assistant for guided installation. Additionally, re-download installation files to ensure they are not corrupted, disable conflicting software, and consider resetting your NAS if necessary. By following these steps, you can overcome error code 38 and successfully install DSM on your Synology NAS.