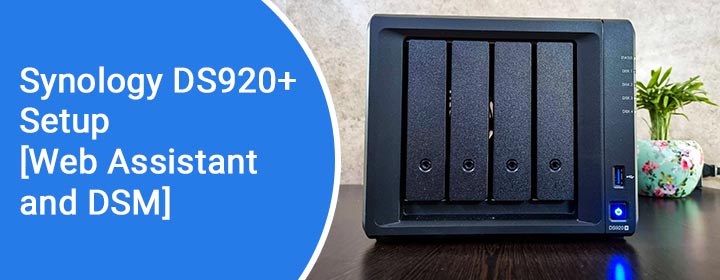
Synology DS920+ Setup [Web Assistant and DSM]
Synology device help you to manage your data files like videos, images and other media files. One of the NAS models is Synology DS920+ NAS device. It is also easy to install in your house like other Synology devices.
Here, you will get a short tour of Synology DS920+ setup, which includes how to connect the DS920+ device to your home router. Then, you will learn how to access the web assistant in your computer and how to download DSM (DiskStation manager) in your computer system.
You will also get to know some troubleshooting tips to complete setup same as Synology DS923+ installation without facing any technical error. Now, we will start with the setup straight away.
How to Connect Synology DS920+ to Home Router?
This section will help you to learn how to connect the Synology device to the router that is first step of the Synology DS920+ setup.
- You have to un-box the DS920+ device and take out the drive trays, main NAS unit, Ethernet cable, power cord, drive tray key and user manual.
- Place the Synology device near to the router and insert the drives in the trays.
- Lock the trays with the help of the drive tray key. Then, connect the Ethernet cable to the Internet port of the Synology device and router’s LAN port.
- Now, you have to insert the power cord to the connector and power it on by inserting the adaptor in the wall socket.
- Turn the device on by pressing the power On/Off button and then carry on to access the web assistant to connect your computer to the NAS device.
In the next section, you will get to know how to connect the NAS to your computer by access the find.synology.com.
How to Access NAS Web Assistant in Computer?
This section have simple to apply steps that help you to connect your computer to the Synology DS920+ device easily.
- The first step to launch the web assistant in your computer is connecting it to the same router, which is linked to the NAS device.
- Search the find.synology.com URL in the computer web browser to reach the web assistant window.
- Here, you will see Synology not Connected to You sentence. You will also see a Connect button down in the screen.
- Just click on Connect and you will be connected the computer with the NAS DS920+ device.
Now, you can easily manage your data online. You can also download the DSM software in your computer from here.
Just have a tour of next section where you will learn how to download the DiskStation Manager in your computer and complete the Synology DS920+ setup.
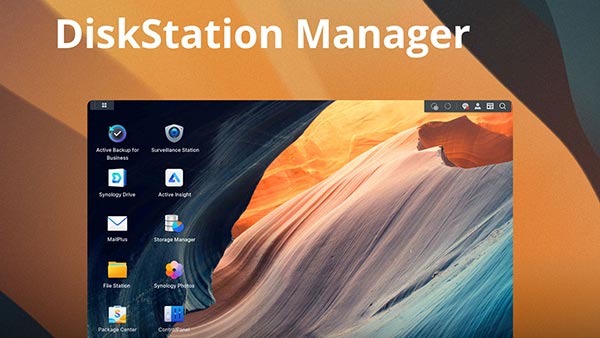
How to Install DiskStation Manager in Your Computer?
DSM helps you to share the data files with your family and friends, manage them, and back them easily from your computer.
- At first, you have to connect the computer with your Synology device using web assistant.
- Here you will find the DSM section at the side panel, just click on it.
- In the DSM section, you have to select the Download button. After some time, it will install in your computer.
- Open the DSM software, you have to create a Synology account by typing your Email address, name and password.
- After creating the Synology account, you can easily login to the DSM (DiskStation Manager).
Now, you can share, manage and backup your data files with the help of the DSM software downloaded from find Synology assistant. Now, have a look at some tips that help you to set your NAS device up in your home without facing any error.
Troubleshooting Tips During Setup
- Don’t use damaged cables like Ethernet cable and power cord to connect router and supply power.
- Lock the drive trays in the Synology DS920+ device by using the drive tray keys.
- Download the DSM software in your computer and type in the correct user details to create the Synology account.
The End Note
Here, you have learned how to complete the Synology DS920+ setup in your home. This installation procedure includes information about how to connect the Synology device with the router, how to access web assistant, and how to download DSM (DiskStation Manager). At the end, we have share some tips to make your Synology DS920+ setup error free.