How to Expand the Memory of Synology Server?
Synology NAS is one of the most secure ways to store data online and that too without recurring charges. Due to this very reason, more and more people are investing in Synology NAS these days. But, more or less, the overall performance of the NAS device can be increased proportionately by expanding the memory. This, as a result, will improve the data transmission speed plus system response during multitasking. If you are planning to add memory capacity to your NAS sever, you can rely on the information given here.
What to Do Before You Expand the Memory of Synology Server?
You need to be very cautious while expanding the memory of your Synology NAS server. The reason being, not all NAS models memory can be expanded or added. Apart from this, these instructions sometimes vary from model to model.
Last but not, memory configurations and capacities must also be taken care of when you are planning to expand the Synology server memory. It is not a simple process like discovering the NAS via the find.synology URL. Let us now move ahead and discuss how to expand the memory of Synology NAS server.
Steps to Expand Synology Server Memory
1. Perform Memory Selection
It has already been told that not all NAS models support memory expansion. With that being said, you need to be very sure about the fact that the memory of the Synology device you own is expandable.
For this, you are advised to navigate to the Product list on the official Synology page. If you find the “Expandable” option written beside the Synology NAS device you own, you can proceed to expand the memory. To do that:
- Select your product from the Synology Product List.
- Choose Specs.
- Select Hardware Specs and refer to your device’s datasheet to verify them.
Note: You need to check installation requirements or limitations of your NAS product before you attempt to purchase any memory module. Suitable memory modules must be selected by you. For that, it is suggested that you check the Synology Product Compatibility List along with the list of accessories. Know that if you install an incompatible or non-Synology memory module, data corruption or NAS malfunction is most likely to occur.
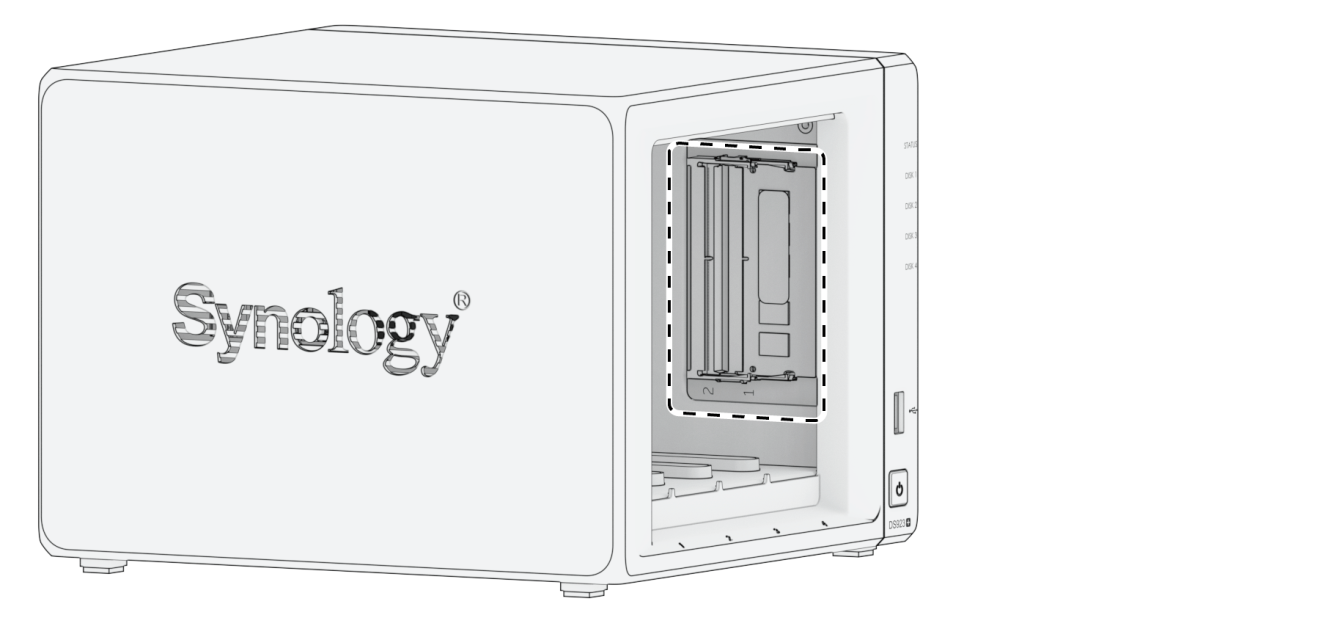
2. Expanding the Memory
The next task is the main thing for which you are looking. Given below are the steps that you need to follow for Synology NAS server memory expansion. For your easy understanding, we have given instructions for Synology NAS 923+ device:
- Shut down your NAS.
- Disconnect all the cables connected to your Synology device. This will prevent damages.
- Once done, you are suggested to remove hard drive trays from drive bays.
- You need to hold the memory module by edges. Avoid touching the gold connectors.
- Insert the dish trays into dish trays.
- Connect the cables back and press and hold the NAS Power button.
3. Checking If NAS Recognizes the Expanded Memory
As soon as you add memory to your Synology NAS, you are required to check whether it is recognized or not. For this, we recommend you install the DSM on your NAS. Once done, follow these steps:
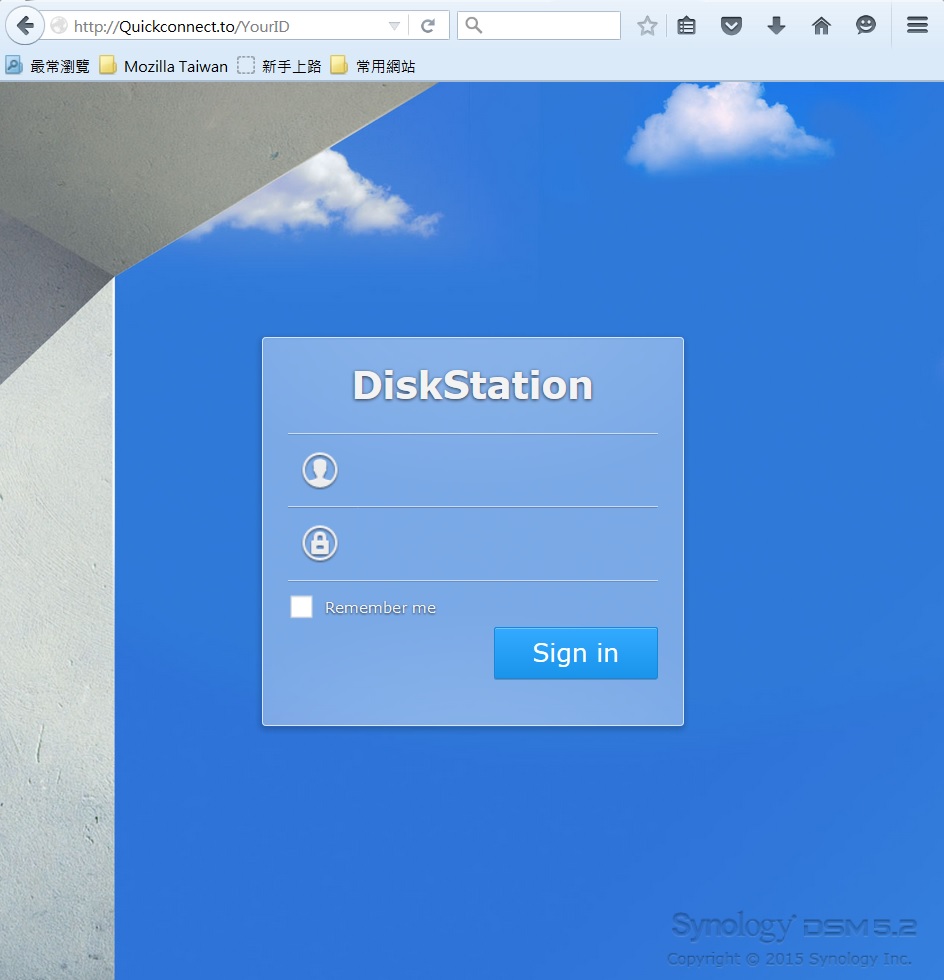
- Log in to your DSM as admin.
- You can also log in as a user who belongs to the administrators group.
- Select Control Panel.
- Go to Information Center and click Total Physical Memory.
Note: If the NAS is unable to recognize the expanded memory or fails to restart, you are suggested to insert the memory module correctly.
The Final Thoughts
If you expand the memory of Synology Server, it will perform better in all terms and deliver great outputs in the least time. We hope that the steps given in this post will help you add a memory module to the NAS device without any difficulty. However, you should always check the recommended memory configurations before doing anything.