How to Find NAS Using Synology Web Assistant in Computer?
Data management devices help user to adjust growing data like photos, videos and other files. Synology NAS device provides interesting features and utilities that you can use to manage your data files and share them.
The Synology NAS installation is simple and pretty easy. Here in this blog post, we will discuss about how you can connect the data management device or how you can find NAS device using the Synology web assistant in your computer.
We will also provide information about the Disk Station manager using web assistant of the Synology. So, let’s start with how to reach the find.synology through your computer or laptop.
Launch Synology Web Assistant
Here in this section, you will find steps to connect your NAS device with the router and then to your computer via web assistant.
1. Assemble NAS
At first you have to assemble the Synology device by inserting the drives in the drive trays. After inserting the drives carefully, you must lock them in using the drive tray key.
2. Connect to WiFi
After assembling the NAS device, connect it to your WiFi router by inserting the Ethernet cable into router’s LAN port and Synology NAS device Ethernet port. The cable must be in good condition, if it is not, replace it with a new one.
3. Turn NAS On
Then, you have to start NAS by connecting its power cord to the wall socket and pressing the On/Off button. Make sure the cord is not damaged or cut from anywhere. If it is, then use another one.
4. Link A Computer
Now, connect the computer or laptop to the same router, which is connected to the Synology NAS device. Find and open web browser that should be of latest version. If not, then update it by going in to the browser Settings, selecting About, and clicking UPDATE button.
5. Launch Web Assistant
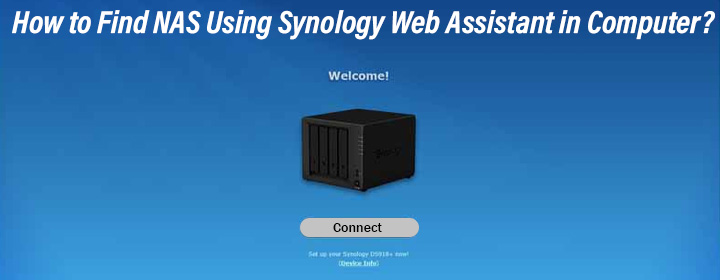
Search the URL find.synology.com to reach to the Synology web assistant. On this page, you will see ‘Synology not connected’. Just find the CONNECT button at the bottom of the computer screen and click on it.
Note: If the Web Assistant failed to connect with your computer then you can use the Synology assistant. You can download it from Download Center of Synology.
The computer is connected to the Synology NAS. Now, you can easily manage your data files, access utilities and features that it provides like DiskStation Manager (DSM). Let’s have a look at a section, which explains how to install DSM in your computer through Synology web assistant.
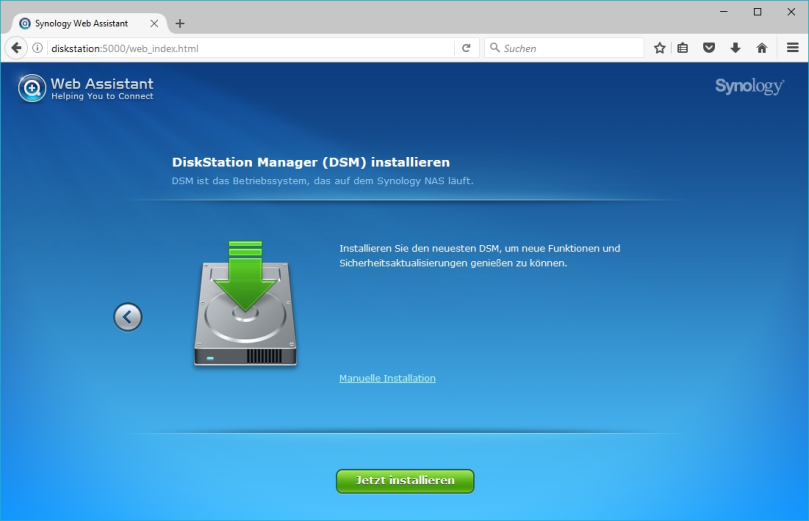
Install DSM Using Web Assistant
- Access the Web Assistant in your computer.
- Click CONNECT and find the DSM tab at the side bar.
- Enter to DSM, select the version you want to install according to your requirements.
- Start the download by clicking the download icon, and then install it in your computer.
Open the DSM and create a Synology account by entering the name, Email address and generating a password. After creating the account, you can use these Synology login credentials to any utility like Quick Connect.
Now, take a look how you can prevent technical issues related to the web assistant with the help of some tips.
Troubleshooting Tips
- Make sure the router is receiving signals from the modem and Synology NAS device is connect to internet.
- Check that there are no network interruptions on the router location. If you find any electronic device (cause of signal interruption) near to the WiFi, then shift the NAS and router to an optimal spot.
- You must be sure that no cable like Ethernet cable or power cord is damaged before reaching the assistant.
- Use the updated web browser in your computer to launch the web assistant and establish a connection between computer and Synology.
End Words
Here in this blog post, you have learned how to reach to the Synology Web Assistant by following easy steps. We have also added couple of the section which contains information about how to install Synology DiskStation Manager and troubleshooting tips to dispel any problem related to web assistant.